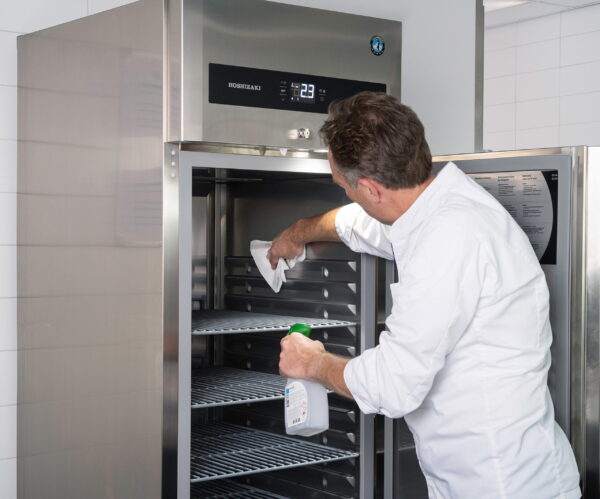
In the demanding environment of food service and storage, refrigerators play a vital role in preserving the quality and safety of perishable items.
Regular and proper cleaning prevents the buildup of harmful bacteria, mold, and other contaminants that can compromise food safety.
Moreover, a well-maintained refrigerator operates more efficiently, reducing the risk of equipment failure and costly repairs.
Ensuring a clean and sanitary refrigerator is not only a regulatory requirement but also a fundamental practice to protect the health of consumers and uphold the reputation of any food-related business.
First things first: Correct Positioning of Hoshizaki Cabinets
The first step for a successful refrigerator cleaning routine is made when designing the refrigerated storage space in your food service environment.
When multiple cabinets are placed side by side, the condensation effect intensifies, reducing the airflow between them.
Therefore, it is essential to maintain a minimum gap of 30 to 50 mm between the cabinets, depending on the temperature and humidity. These gaps must remain open at both the top and bottom, though they can be covered at the front with a removable stainless-steel panel for aesthetic purposes. This panel should be easily removable for cleaning the gaps. If air cannot circulate freely at the bottom, such as with a base installation, the gaps should not be sealed at the front.
Safety Warning
Before performing any cleaning, ensure the unit is unplugged.
Avoid touching or wetting the machine compartment parts, as this could cause failure or breakdown.
To prevent damage, do not clean the plastic parts with water hotter than 40°C or in a dishwasher.
Important Note
Some cleaning solutions not listed in the following steps may also damage painted or plastic surfaces. If you notice any problems after using a new solution, stop using it immediately.
Important Steps & Notes for correctly cleaning your Hoshizaki Refrigerated/Freezer Cabinet
1. Unplug the Cabinet
Before starting any cleaning or maintenance, unplug the unit to ensure safety.
2. Avoid Wetting the Machine Compartment
Do not touch or wet the machine compartment parts, as this could cause failure or breakdown.
3. Care for Plastic Parts
To prevent damage, avoid cleaning plastic parts with water hotter than 40°C or using a dishwasher.
4. Regular Cleaning Frequency
Clean the interior and exterior at least once a week to maintain sanitary conditions.
5. Cleaning Process
Use a soft cloth soaked in cold or warm water with a suitable amount of neutral cleaner. Wring the cloth dry before wiping the surfaces. Do not use a water jet to clean the machine compartment.
6. Choosing the Right Cleaning Agents
Only use neutral cleaners. Other chemical agents might damage the interior and exterior surfaces.
7. Avoid Harmful Cleaning Agents
Do not use the following items as they could damage painted or plastic surfaces:
Polishing powder, alcohol, thinner, benzene, acidic or alkaline detergent, hot water, petroleum, soap powder, metal scourer or brush, etc. This includes detergents designed to clean grease on ventilators or microwaves.
8. Rinsing Off Detergent
Use a soft cloth dampened with warm water to wipe off any remaining detergent, as it can damage metal or plastic surfaces if left on.

